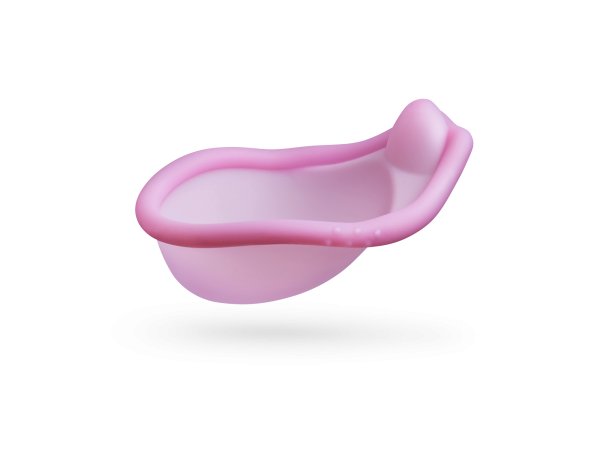
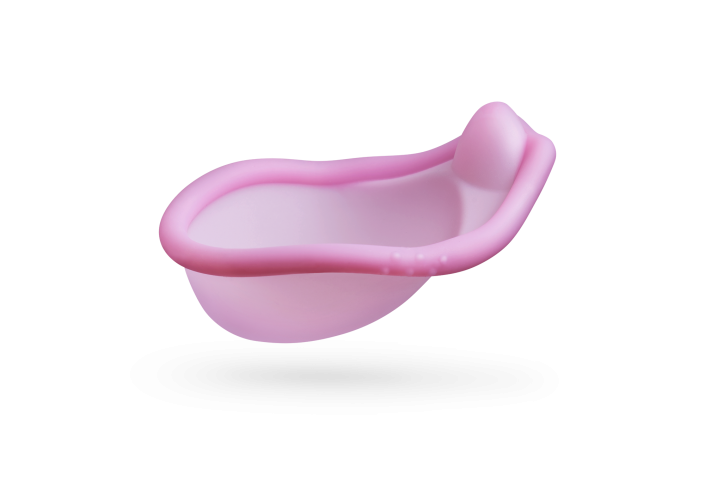
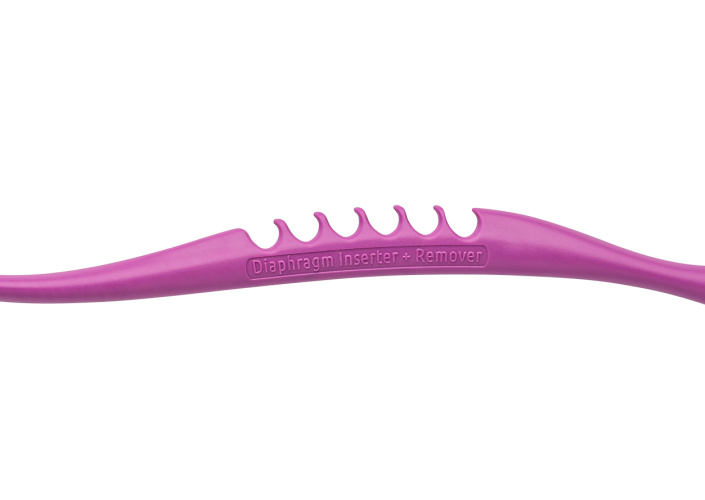
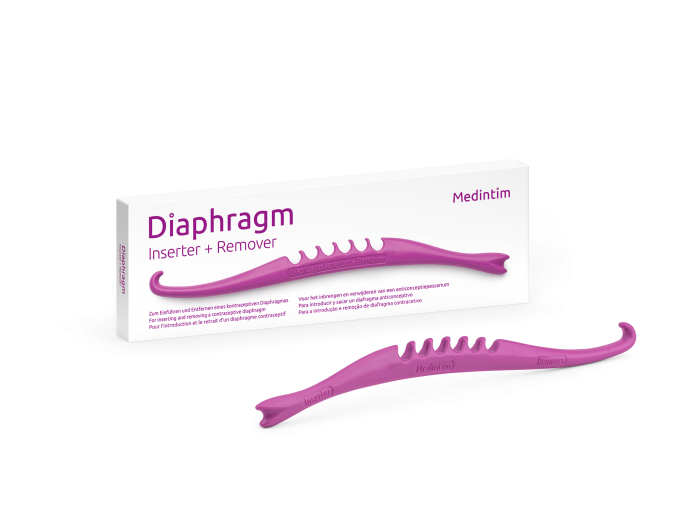
Diaphragm Inserter + Remover
for easy insertion and removal of a diaphragm
The smart contraception
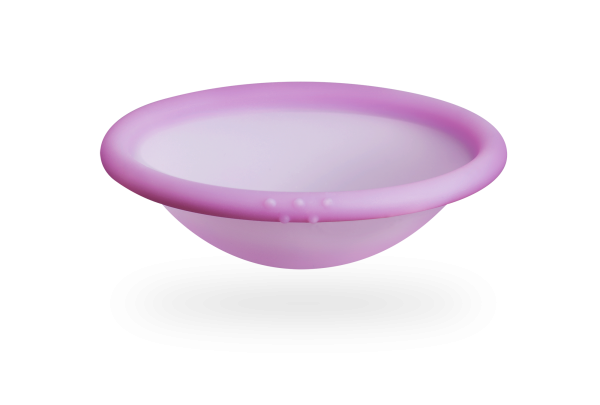
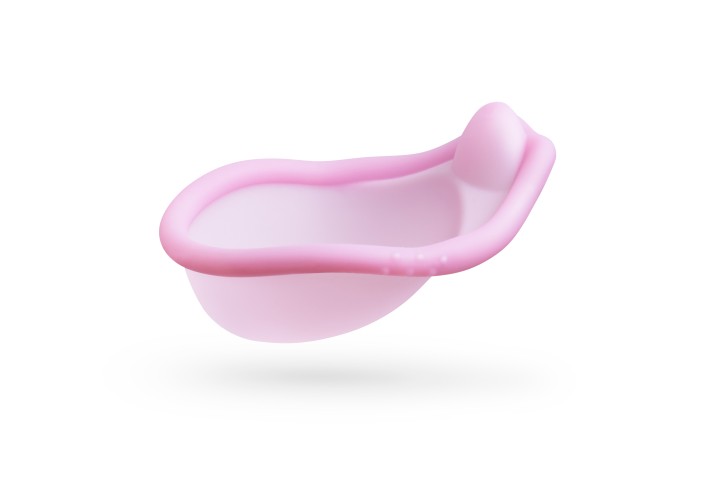
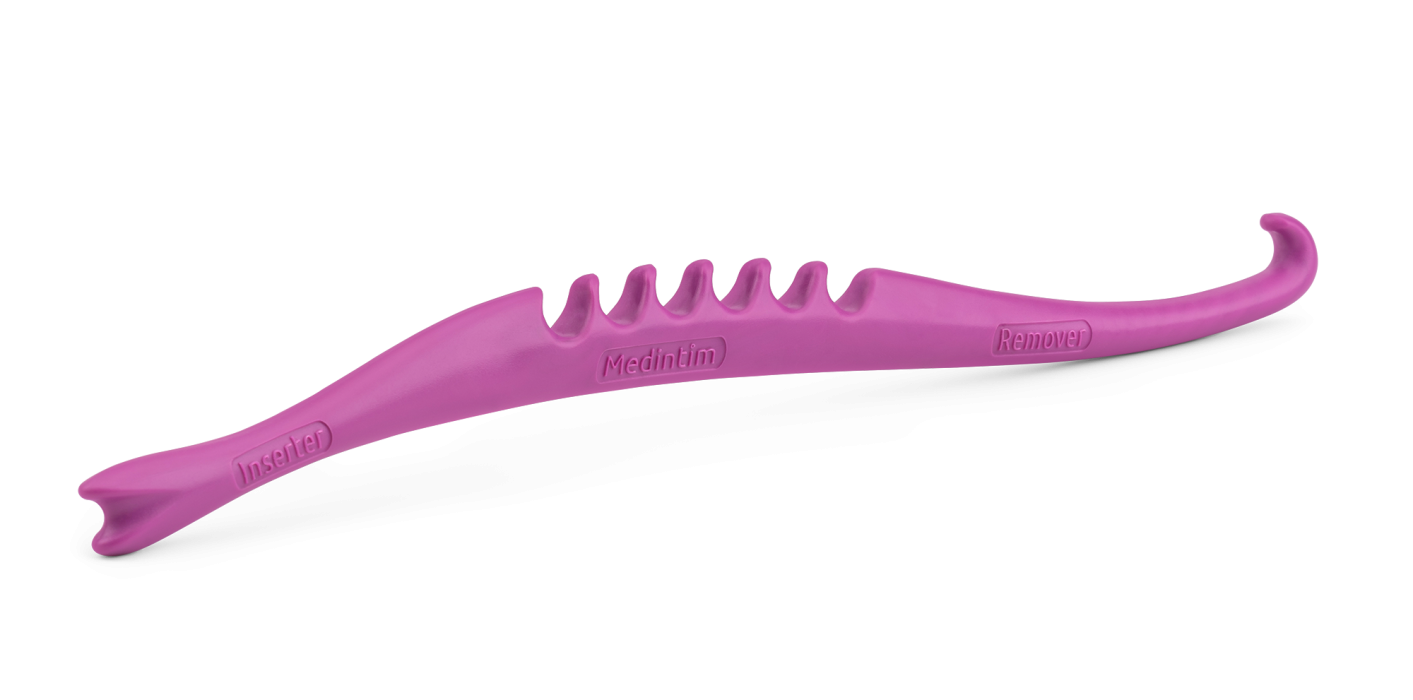
The Diaphragm Inserter + Remover makes it easier to insert and remove the Caya® or Singa® diaphragm. Diaphragms in different sizes can be easily hooked up and inserted. With the curved side, removing the diaphragm is possible even if you can't reach it well with your own fingers. The inserter has no sharp edges and its shape is based on established, long-term experience with this practical tool.
easy insertion and removal
of a Caya® or Singa® Diaphragm
easy hooking
also with different diaphragm sizes
established form
based on long-term experiences
Application
Step 1
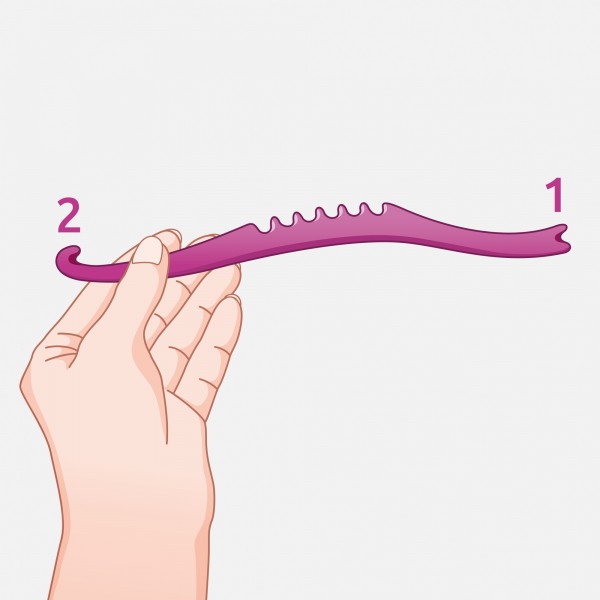
The insertion rod has two diff erent sides. Side 1 is for inserting a diaphragm and side 2 is for removing it.

Step 2
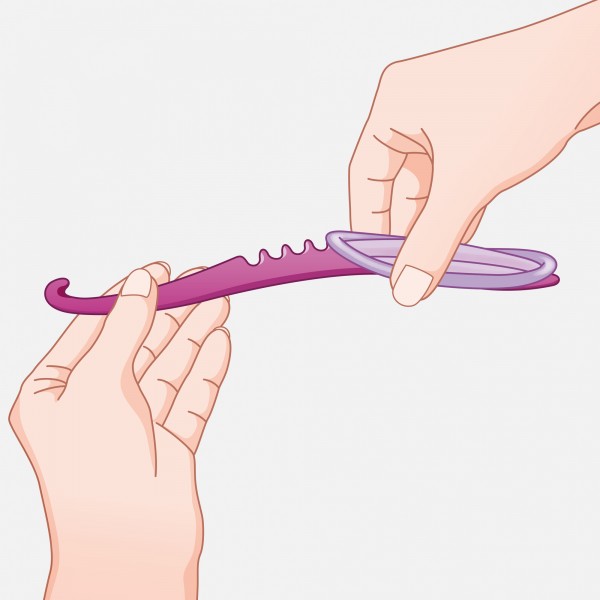
Hold the insertion rod with one hand. With the other hand, hold the diaphragm by the grip dimples so that it folds up. Now, the diaphragm is fi rst mounted onto side 1 and then hooked with the other side into one of the notches (centre of the rod).
Step 3
The diaphragm should now be folded lengthwise and attached to the insertion rod with the diaphragm membrane facing the rod.
Step 4
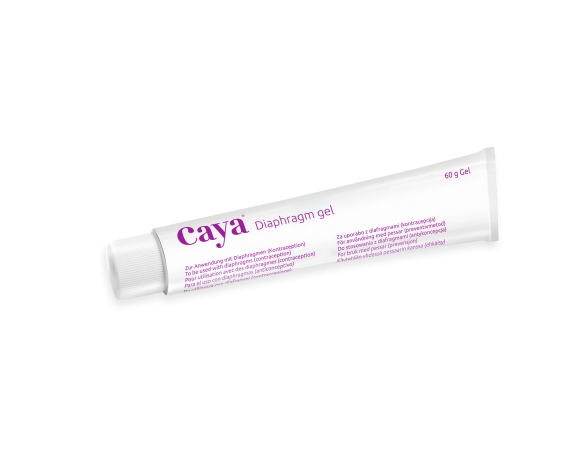
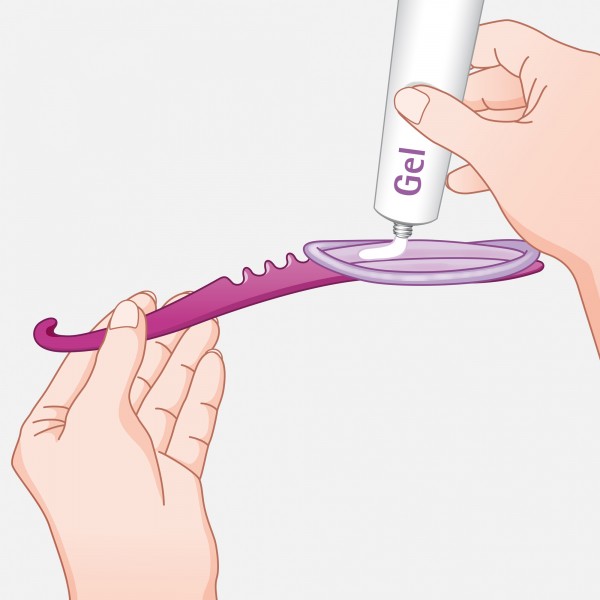
Apply approx. 4 ml of the contraceptive gel onto the folded diaphragm.
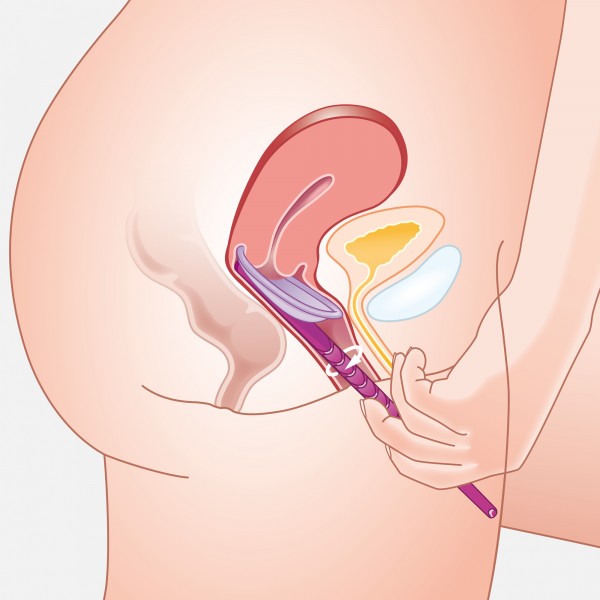
Step 5
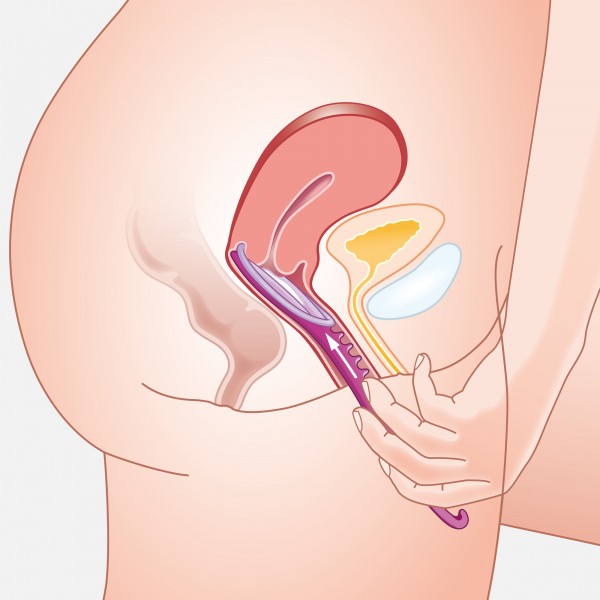
Insert the insertion rod with the diaphragm as far as possible into the posterior vaginal vault. More than half of the insertion rod with the diaphragm is now inserted and the diaphragm is no longer visible from the outside.
Step 6
Rotate the insertion rod to allow the diaphragm to detach itself from the insertion rod. Carefully pull out the insertion rod.
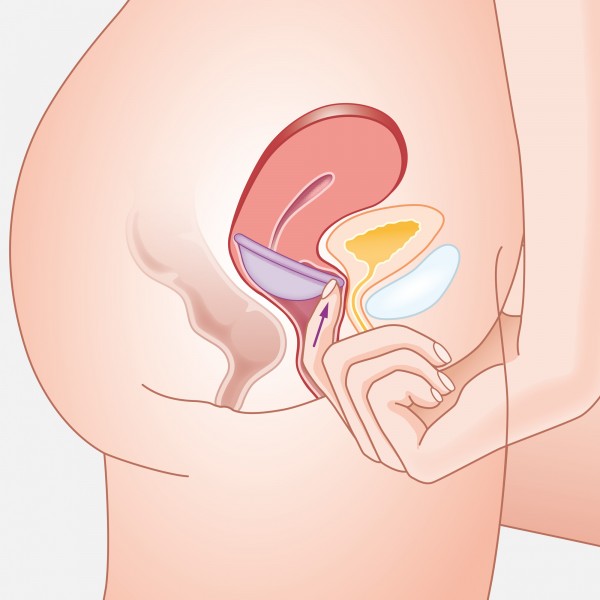
Step 7
If necessary, feel to check that the diaphragm is covering the cervix and lying in the niche at the front of the pubic bone.
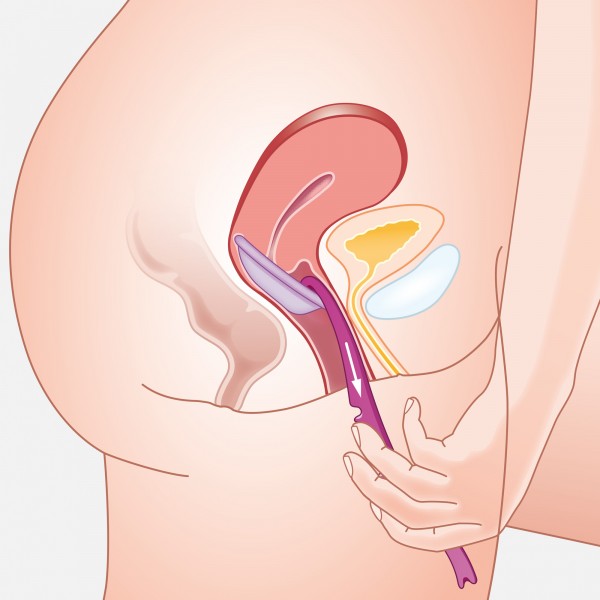
Step 8
To remove the diaphragm, insert the insertion rod with the hook (side 2) a few centimetres into the vagina. Guide the hook of the rod behind the front edge of the diaphragm and hook it on. This will allow you to remove the diaphragm from the vagina.
Material
The Diaphragm Inserter + Remover is made of plastic (ABS).
Cleaning
The Diahragm Inserter + Remover should be cleaned with soap and water after each use and dried thoroughly. It does not need to be disinfected or boiled.
Downloads
Instructions for Use
Product details
EAN: 4013273002813
Article nr.: INSERTER
Manufacturer
KESSEL medintim GmbH
Kelsterbacher Str. 28
64546 Mörfelden-Walldorf
Germany